

I lately obtained the BetaFPV Matrix 3in1 flight controller—a 1S whoop FC board designed particularly for the DJI O4 Air Unit—and after testing it for per week, I’m excited to share my hands-on replace. On this article, I’ll clarify the design, options and pinout of the Matrix 3in1 FC, and easy methods to setup it up.

The Matrix may be bought individually, and it additionally comes with the Meteor75 Professional, which I lately reviewed: https://oscarliang.com/betafpv-meteor75-pro-o4-whoop/
The place to Purchase
Get the BetaFPV Matrix 3in1 FC from:
What are included:
- 1 * Matrix 1S Brushless Flight Controller (3IN1 HD)
- 1 * Kind-C to SH1.0 Adapter
- 1 * SH1.0-4Pin Adapter Cable
- 1 * SH1.0-6Pin Adapter Cable
- 4 * M1.2*4 Self-tapping Screws
- 4 * M1.4*5 Self-tapping Screws
- 4 * Shock Absorbing Balls
Specs
Flight Controller (FC):
- MCU: STM32G473CEU6
- Gyro: ICM42688P
- Blackbox Reminiscence: 16MB
- Sensor: Voltage & Present
- BEC: 5V/3A
- UART:
- UART 1 (RX Solely/SBUS)
- UART 2 (Free)
- UART 3 (For Serial RX)
- UART 4 (Free/HD MSP)
- RX: Serial ELRS 2.4GHz (ExpressLRS V3.4.3)
- FC Firmware: Betaflight_4.5.1_BETAFPVG473
- USB Port: SH1.0-4Pin
- HD Digital VTX Port: SH1.0-6Pin
- Motor Plug: JST1.25-3Pin
- Battery Connector: BT2.0
- Mounting Measurement: 25.5mm x 25.5mm
- Weight: 3.2±0.1g (battery connector excluded), 4.2±0.1g (battery connector included)
ESC:
- Energy Enter: 1S Solely
- Present Ranking: 12A steady, 18A peak
- ESC Firmware: A_X_5_96_v0.19.2.hex (for BB51 Bluejay firmware)
- Assist Protocol: DSHOT300, DSHOT600
Design and Features
The BetaFPV Matrix 3in1 FC is designed for the DJI O4 Air Unit (Lite) to be used on 1S micro FPV drones. A 4in1 version is also being released, which integrates analog OSD and will be compatible with both HD and analog FPV systems.
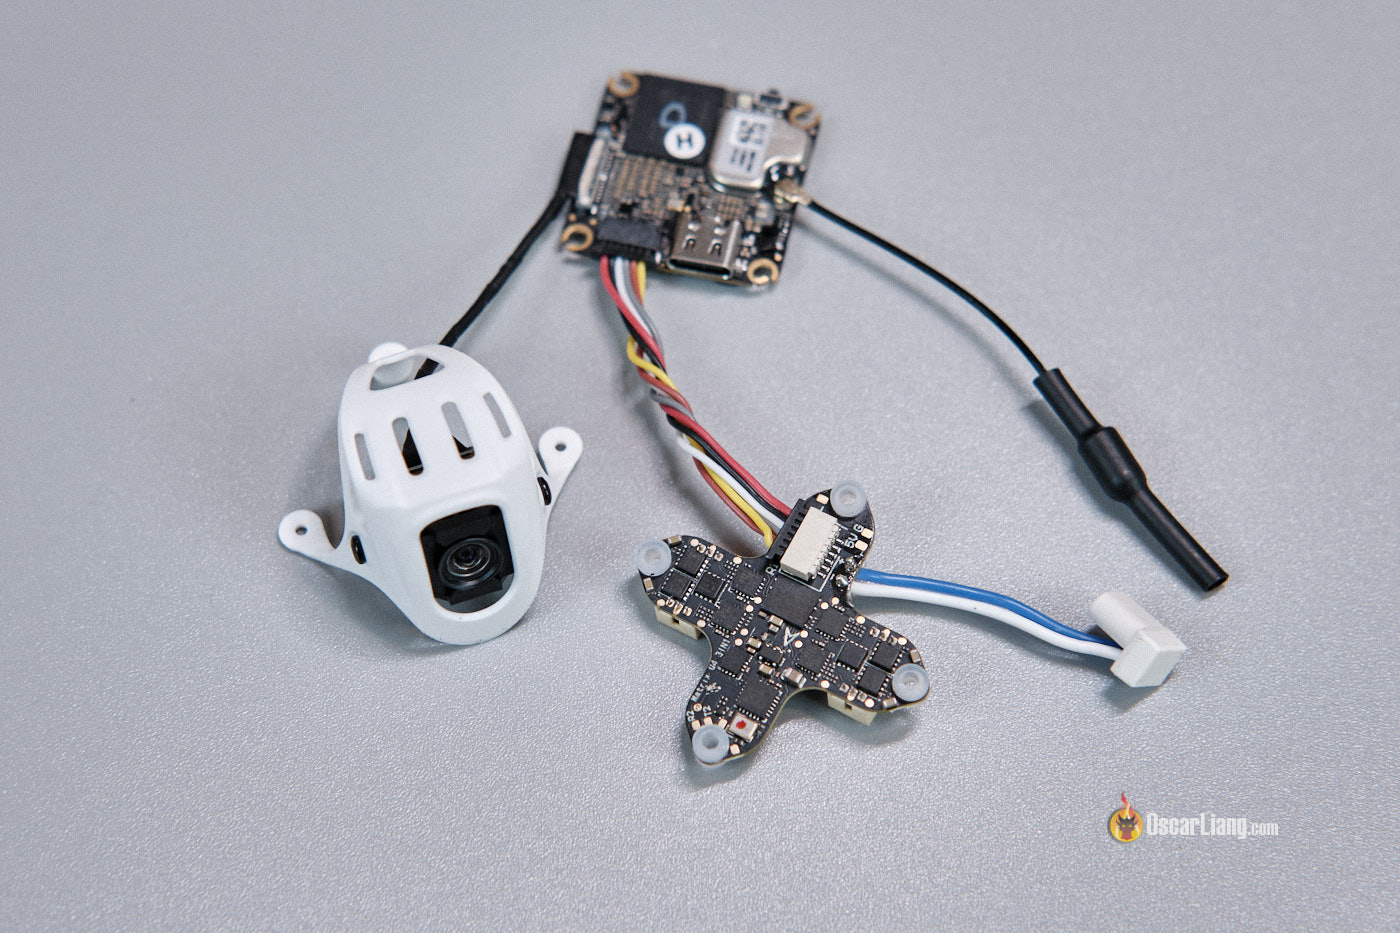
What’s 3in1? Well, it combines the flight controller, ESC, and ELRS 2.4GHz RX into a single board, hence 3in1.
From my power consumption testing while reviewing the DJI O4, I found that the O4 draws about 1.2A at 5V. The onboard 5V/3A BEC on the Matrix provides plenty of power to deliver a consistent voltage to the O4. Additionally, the FC features an SH1.0 6-pin connector, making it plug-and-play with the DJI O4 right out of the box—no soldering required.
The O4 Air Unit is known to perform poorly and even cut out when the input voltage drops below 3.7V. With the Matrix’s 5V BEC, it prevents the input voltage drop below this level. I tested the FC extensively, even flying until my battery voltage dropped below 2.8V, and my video link remained solid.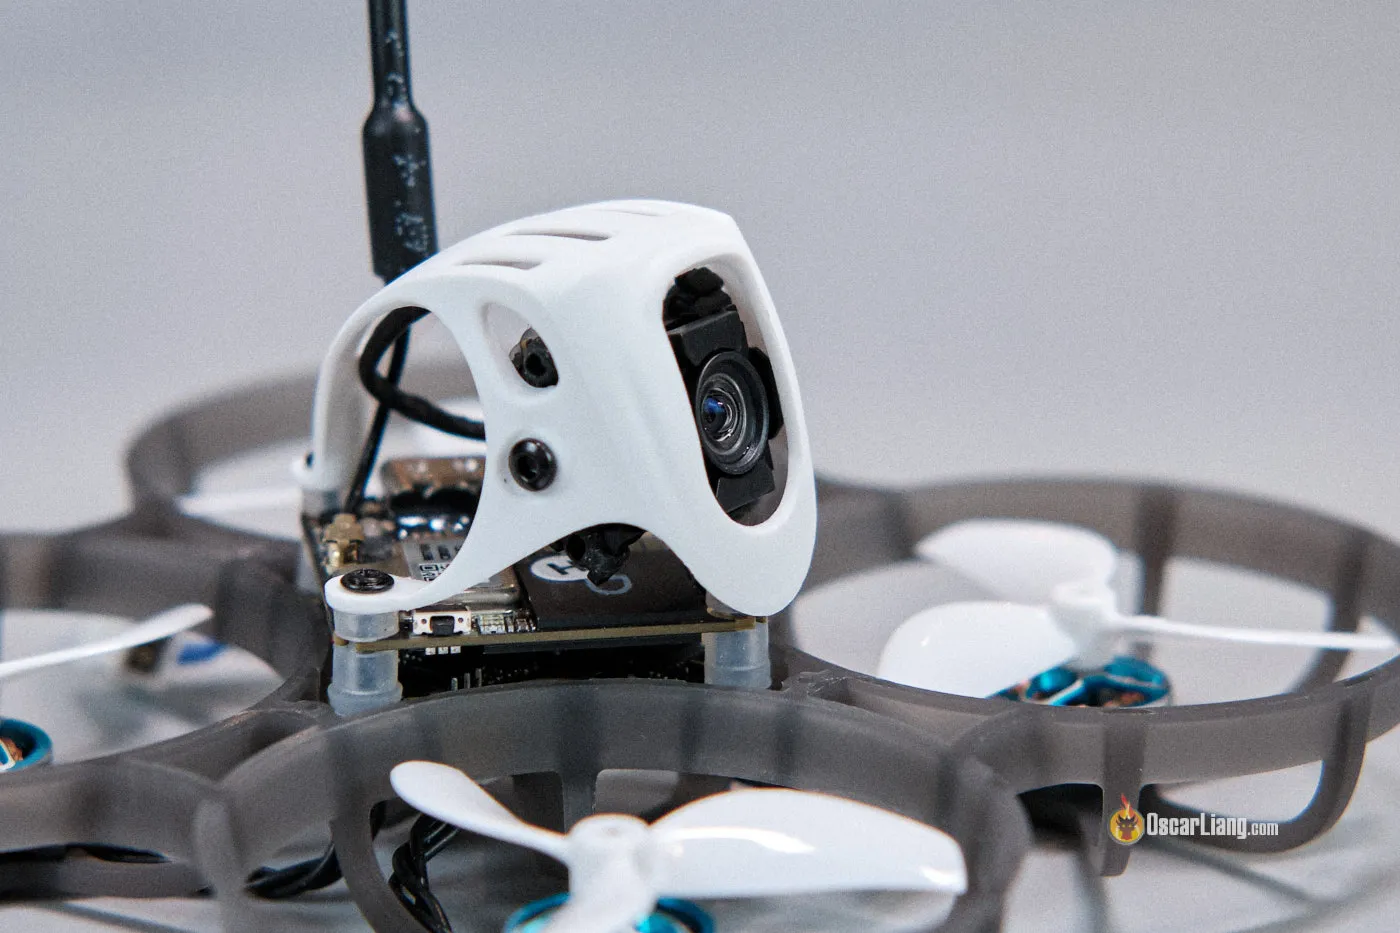
Like many recent whoop FCs from BetaFPV, the Matrix 3in1 sacrifices a built-in USB port to save weight. However, it does offer a small connector for an external USB-C adapter.

The ESCs are rated for 12A continuous and 18A peak, which is extremely robust for 1S micro drones—more than enough for almost any setup. They come with Bluejay firmware pre-installed (A_X_5_96_v0.19.2).
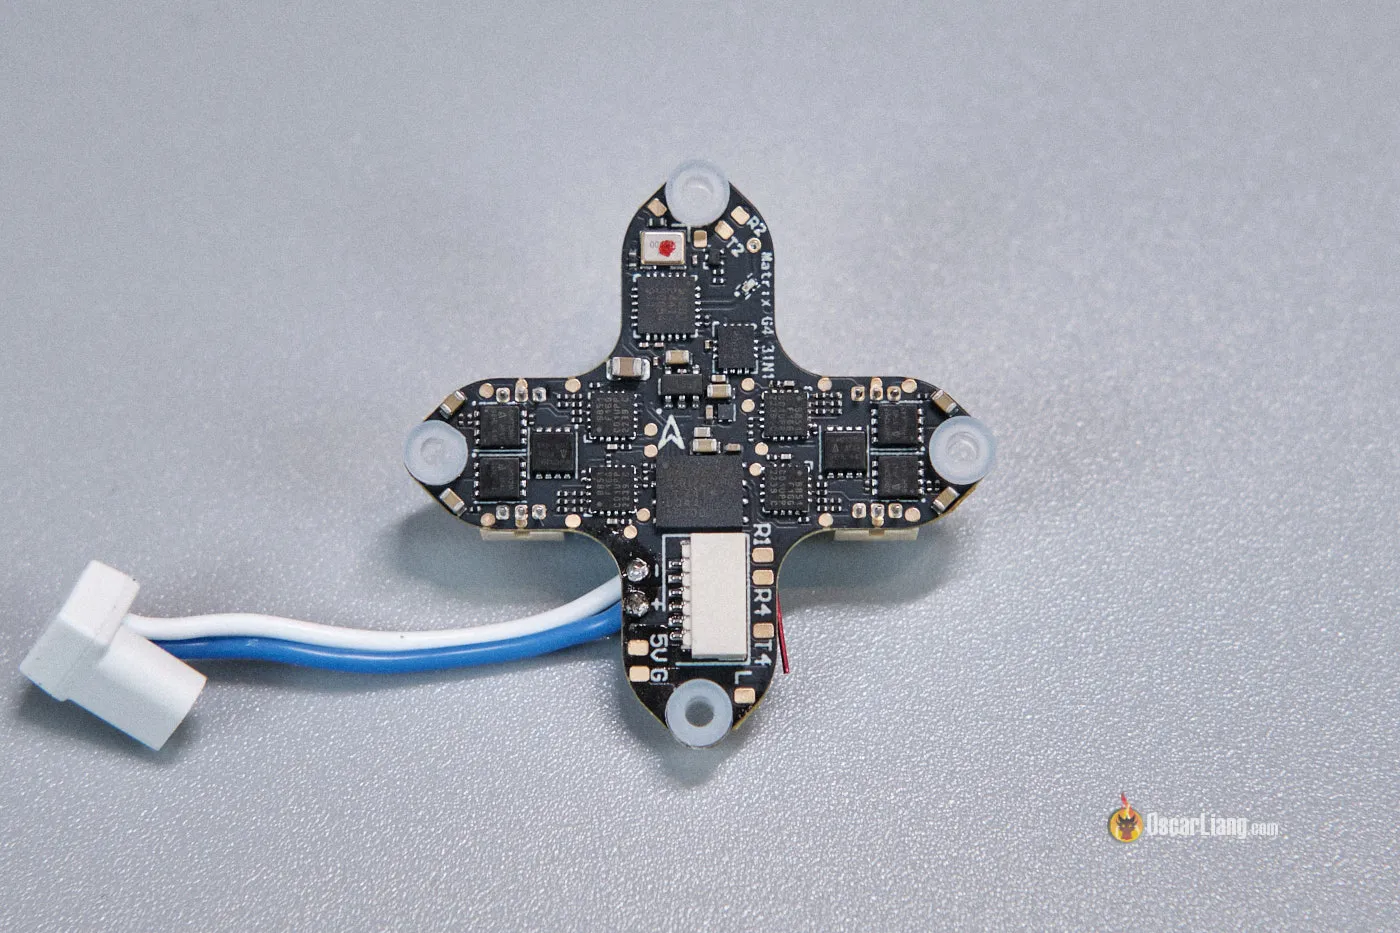
This FC also features motor plugs, which allow for solder-free motor replacements, and it includes 16MB of memory for Blackbox logging, a current sensor, three full UARTs plus an extra RX pin, and an integrated ExpressLRS 2.4GHz receiver. The FC comes with a right-angle BT2.0 battery connector.
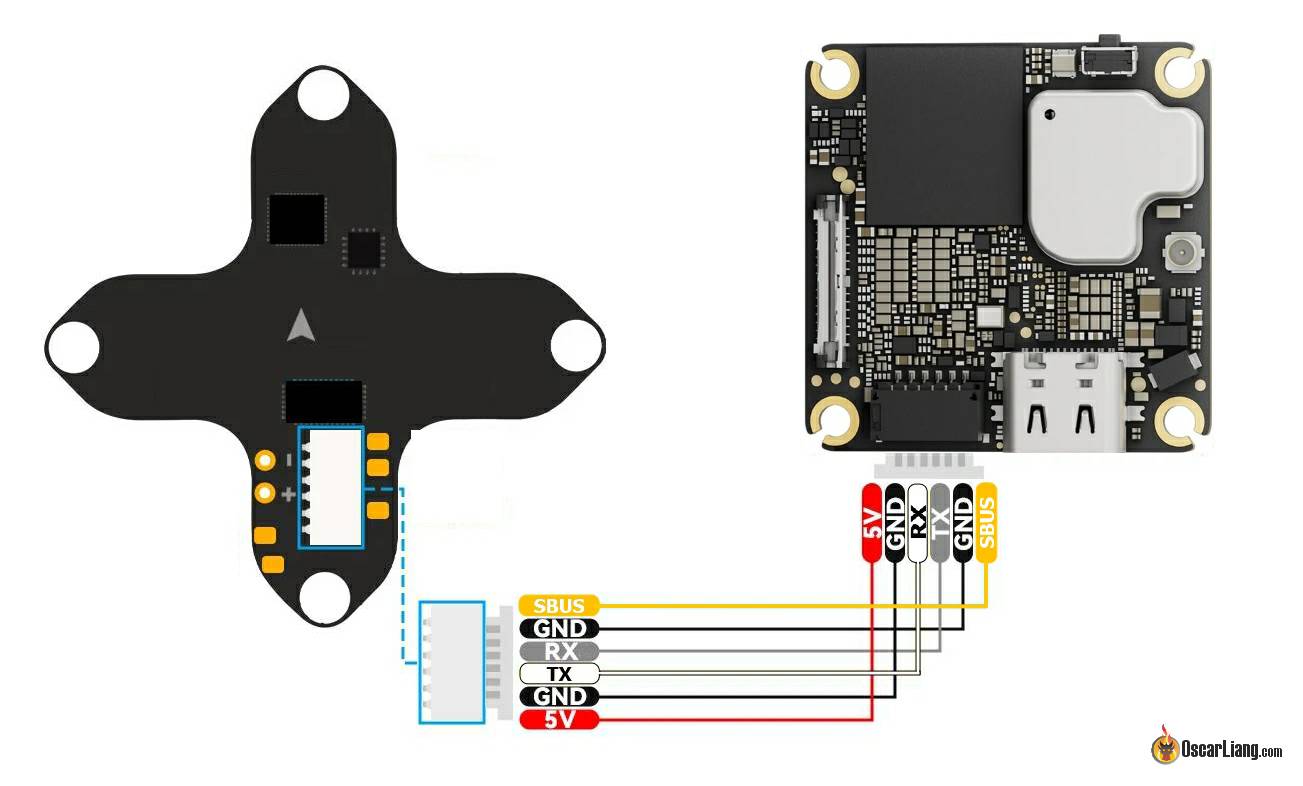
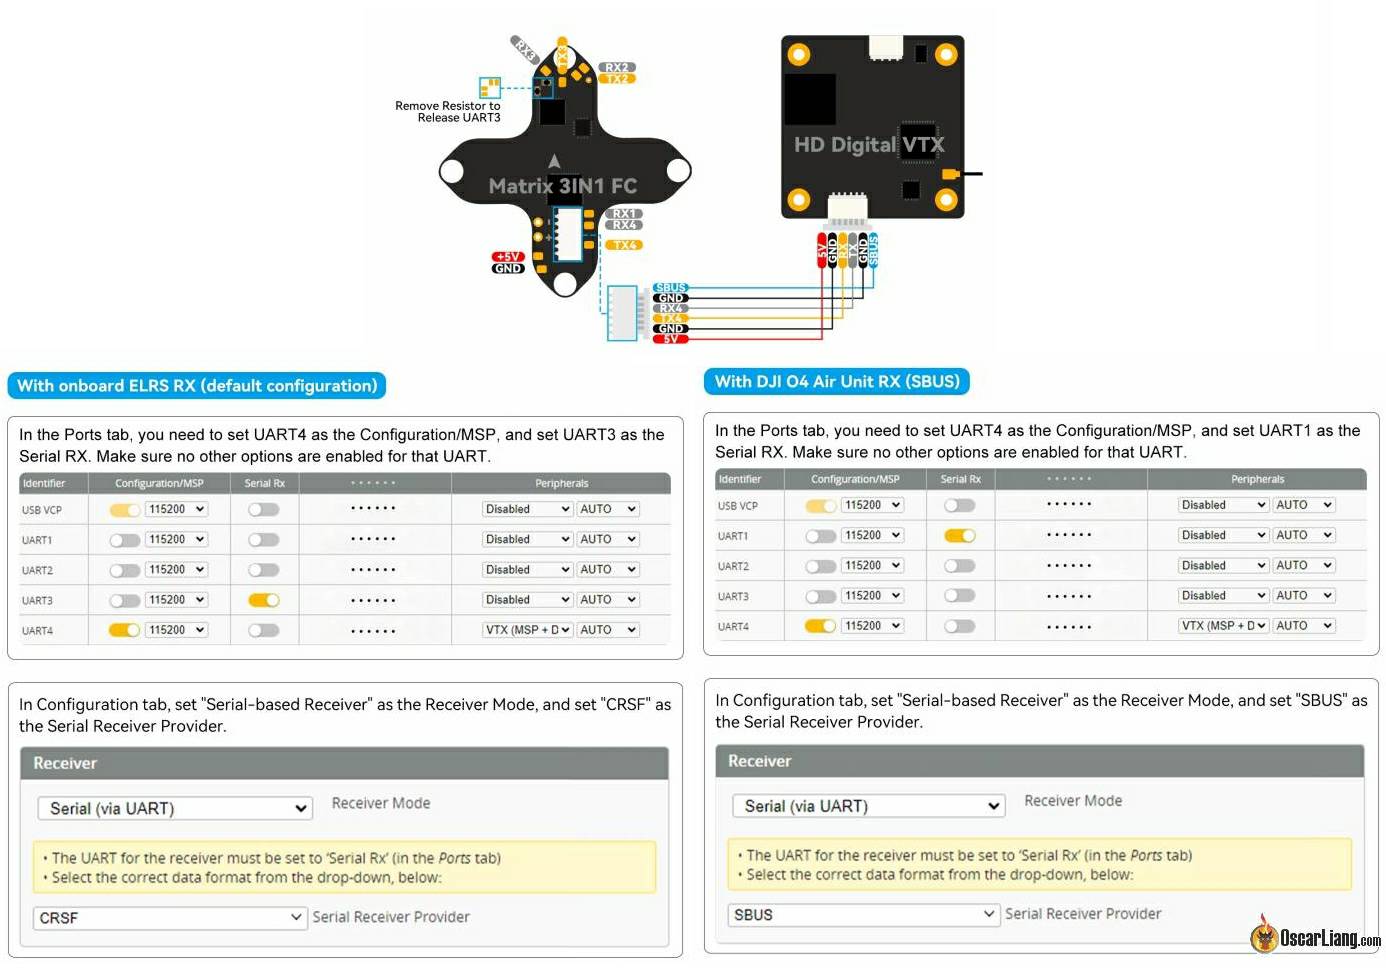
Wiring Diagrams and Pinout
How to Bind Receiver
There are multiple ways to bind ELRS receivers, as described in my tutorial: https://oscarliang.com/bind-expresslrs-receivers/
Here’s my favorite method:
- Connect the FC to Betaflight Configurator.
- Click on the Receiver tab and press the Bind Receiver button at the bottom right.
- The receiver LED should display a double blink, indicating that it is in bind mode.
- Go to the ExpressLRS LUA script on your radio and select the “Bind” option.
- After a few seconds, the receiver should show a solid light, indicating a successful bind. If it doesn’t, ensure your TX module has the same major version as the receiver.
How to Flash Receiver
The onboard ELRS 2.4GHz RX can be updated via the ExpressLRS Configurator. For a detailed tutorial, check out: https://oscarliang.com/setup-expresslrs-2-4ghz/#Flash-RX-Firmware-via-Betaflight-Passthrough
- Plug in your FC to your computer (make sure Betaflight Configurator is closed).
- Connect to the ExpressLRS Configurator.
- Choose the target “BETAFPV 2.4GHz AIO RX.”
- Flash the firmware using the Betaflight Passthrough option.
Conclusion
The BetaFPV Matrix 3in1 flight controller is a game changer for any 1S setup using the latest DJI O4 Air Unit. It not only resolves the power issue with the O4 but also delivers a smooth plug and play user experience with impressive weight savings and robust performance.